Frequently Asked Question
Backup: How to back up your Synology NAS
Last Updated 9 years ago
Back up your Synology NAS
Overview
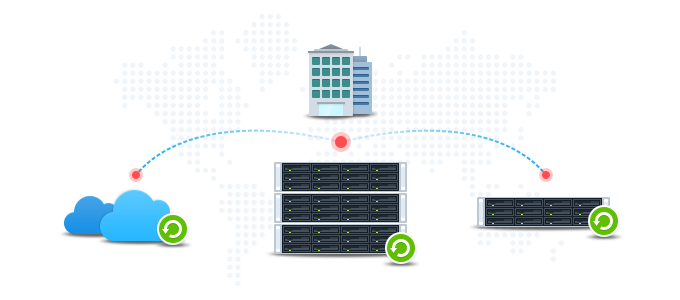
Unexpected data loss from hard drive failures or natural disasters poses potential threats to your paramount data, especially when no reliable backup solution is available. Hyper Backup provides an intuitive and integrated backup/restoration solution to help you retain/retrieve copies of your precious data and restore applications and system configurations from a point in time. The following storage destinations are supported:- Local shared folders (including external storage devices attached to your Synology NAS)
- Remote Synology NAS
- Remote rsync servers
- Remote OpenStack Swift servers
- Public clouds (Amazon S3, Microsoft Azure, and OpenStack Swift, etc.)
Note:
Hyper Backup backs up only specific system configurations and applications. For more information, please consult the help documentation for Hyper Backup.1. Create local backup tasks to a local shared folder/external storage device
Hyper Backup offers similar backup and restoration procedures across different destination types. Below we demonstrate how to back up and restore data locally for your reference of other task types.- Log in to DSM and find the package Hyper Backup.
- Click + on the bottom left corner, and select Data backup task.
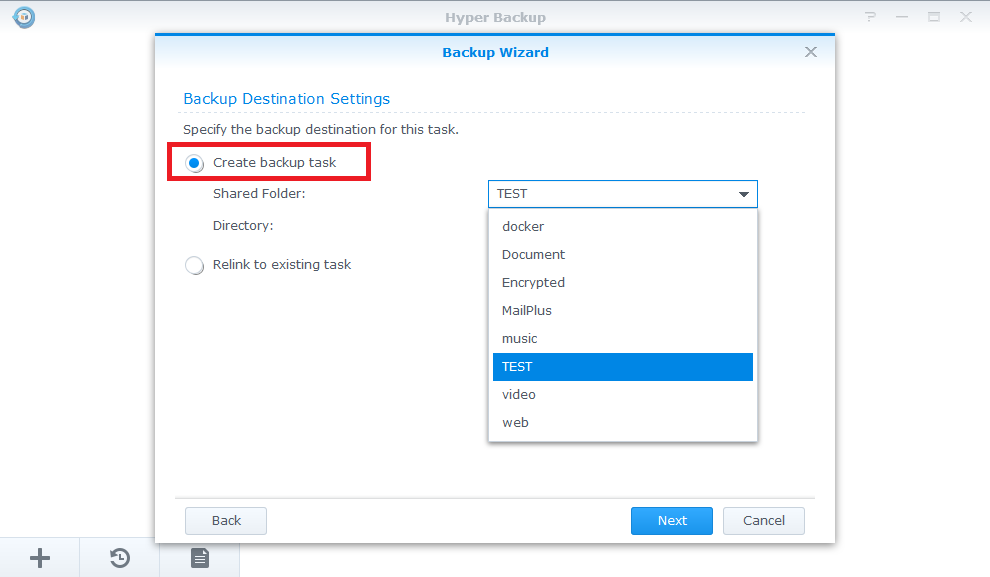
- To set up a local backup task, select Local Shared Folder.
- Select Create backup task and select a local shared folder or an external storage device attached to your Synology NAS.
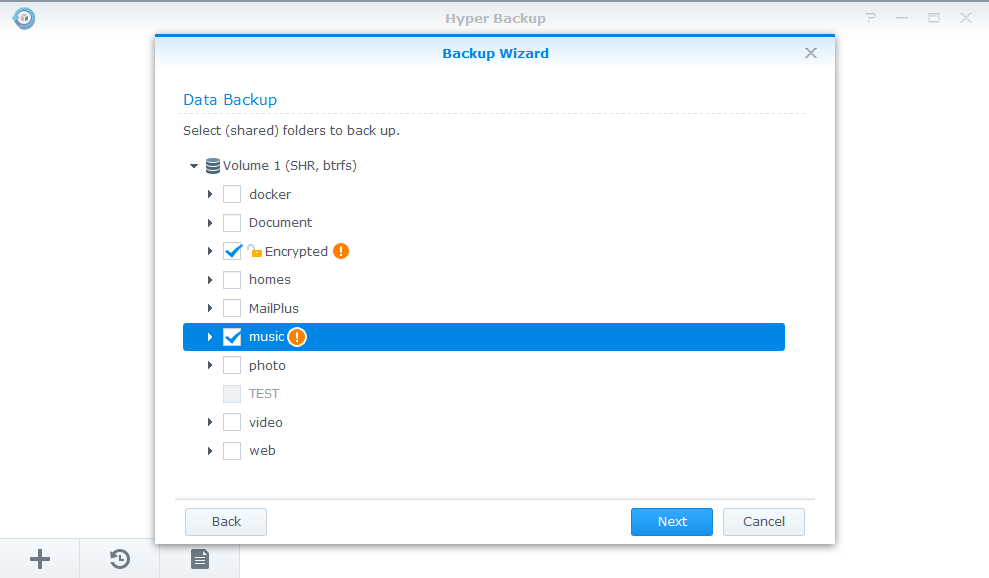
- Select the source folder(s) to back up the contained data. Encrypted shared folders, if selected, must stay mounted during the backup process. If the source and destination are in the same volume, the system will mark such source folders with orange exclamation marks.
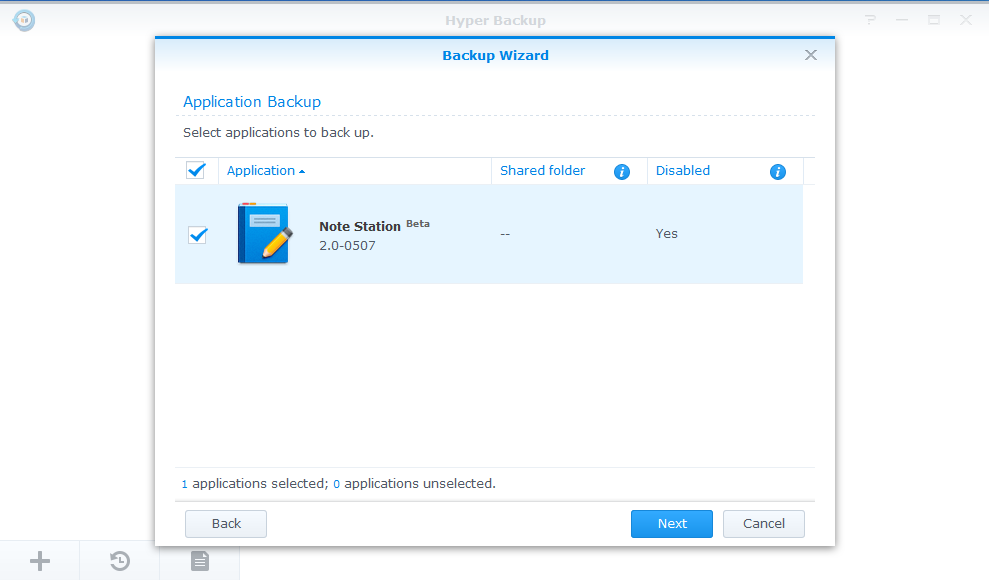
- Select the application(s) to back up.
- Specify the backup settings below to fit your needs:
- Task: Name the backup task.
- Enable task notification: Select to have you informed of the task status via email, SMS, or push service.
- Enable configuration backup: Back up the system configurations (e.g. user credentials). This setting is enforced on all backup tasks by default.
- Compress backup data: Compress backup data to reduce the usage of destination storage. More backup time is needed if this option is selected.
- Enable transfer encryption (for remote backup only): Select to encrypt the backup data during the transfer to a remote destination (e.g. an rsync server or public cloud).
- Multipart Upload part size (for S3-compatible servers only): Divide backup data by the specified chunk size.
- Enable client-side encryption: Select to protect the backup data with password from unwanted access on the destination side.
- Enable backup schedule: Select to schedule when to automatically perform the backup task.
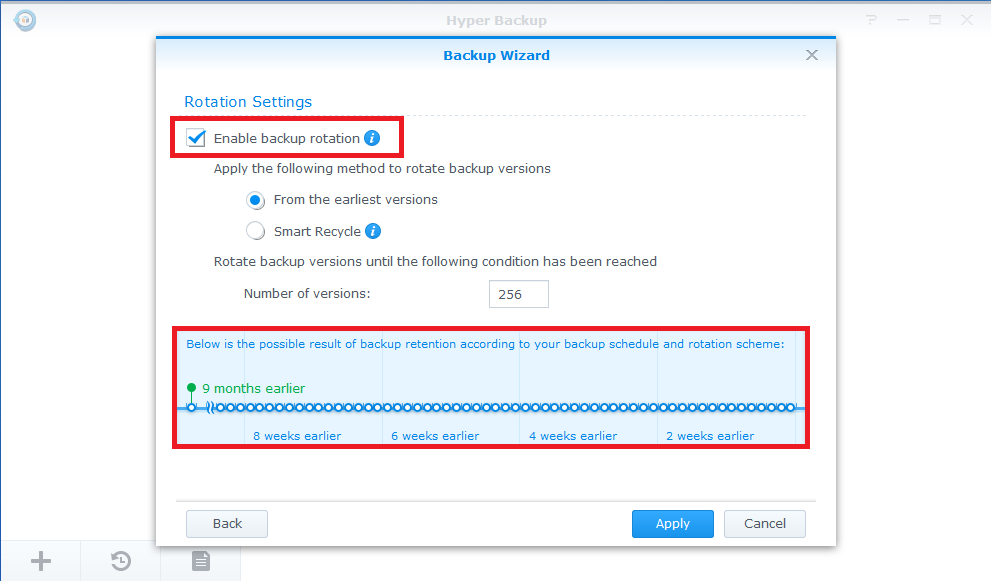
- Select Enable backup rotation to set up the rotation scheme:
- From the earliest versions: Delete the earliest existing backup versions once the specified Number of versions is exceeded.
- Smart Recycle: The system will retain every backup version until the specified number of versions is exceeded. When rotation is triggered, the system will first rotate the versions that do not meet any of the conditions; if all the existing versions meet the conditions below, the system will rotate the earliest version:
- Hourly versions from the past 24 hours: The system keeps the earliest version that is created each hour.
- Daily versions from the past 1 day to 1 month: The system keeps the earliest version that is created each day.
- Weekly version older 1 month: The system keeps the earliest version that is created each week.
- Number of versions: Set the upper limit of possible retained backup versions.
- Timeline: Display the possible result of backup retention according to your backup schedule and rotation scheme.
- Click Apply to complete the setup.
- To perform the backup task immediately, follow the Backup Wizard's instructions and click Yes.


YPCv170105