Frequently Asked Question
Application: How to use Container Station?
Last Updated 7 years ago
Introduction
QNAP Container Station exclusively integrates LXC (Linux Container) and Docker® lightweight virtualization technologies, allowing you to operate multiple isolated Linux® systems on a QNAP NAS as well as download thousands of apps from all over the world.How to use Container Station
To install the Container Station on a QNAP NAS, first log into the NAS as an administrator and ensure that it is connected to the Internet.- Install Container Station
Go to “App Center” > “Utilities” or “QTS Essentials”, and find Container Station. Click “Add To QTS” (QTS 4.2 or higher versions only.) - START TO USE
After the installation is complete, click the shortcut icon on the main menu. The first time the Container Station is used, it will ask for a default folder to store images and containers. Select your preferred folder and click “Start Now“.
Create Container
Containers use a two-tier architecture: “Image” and “Container”.Image:
An image file is a real-only template used to create a container. The image may contain a version of Linux (such as Ubuntu 14.04) or a specific application like MySQL. Image files can be built-in to the Container Station, imported from NAS/PC, or downloaded from the Docker Hub Registry. There are three types of images: (1) LXC (2) Docker (3) App.
Container:
Containers are created using image files and can be readable, writable, and executable. An image can create multiple containers.
*Note: LXC images create LXC containers, Docker images create Docker containers. Both containers are independent formats and cannot be converted.
- Quickly Create a LXC Container
QNAP LXC images offer a variety of Linux distributions, allowing you to quickly create Linux-based virtual machines.
Click “Create Container” > expand “QNAP LXC / Docker Images”, and you will see some built-in LXC images (Debian / Fedora / Ubuntu).
Using Ubuntu as an example, click “Install”:
The “Create Container” dialog will appear. Here you can modify information such as its Name and resource usage. Once finished, click “Create”.The installation performs two actions including “download” and “create”. You will be able to track this progress in Background Tasks.
After installation, a container name will be added in the left main menu. Click on the container name (“Ubuntu-trusty-1” in this example) to enter the container management page.
The container management page provides a console UI, allowing you to use a command line interface to operate the container.
- QUICKLY CREATE A DOCKER CONTAINER
Docker image files offer a variety of customized or practical applications, such as WordPress, LibreOffice. Using WordPress as an example, click “Create Container” > Expand “Popular Docker Hub Images” > find “WordPress” and click “Install”.The “Create Container” dialog will appear. Here you can modify information such as its Name and resource usage. Once finished, click “Create”:
The installation performs two actions including “download” and “create”. You will be able to track this progress in Background Tasks.
After installation, a container name will be added in the left main menu. Click on the container name (“wordpress-1” in this example) to enter the container management page.
The container page displays port forwarding settings and hyperlinks if the application is a web-based service. You can click on the hyperlink to connect to your WordPress.
Start using WordPress.
- QUICKLY CREATE AN APP CONTAINER
Apps are groups of Docker images that aim to provide a complete service, such as Application + Database, and also quick-installation packages. Using GitLab as an example, this app contains GitLab, PostgreSQL and Redis images.
To create GitLab, click on the “Create Container” > Expand “QNAP LXC / Docker Images” > find “GitLab” and click “Install”.The next step will display the GitLab URL and the username and password. Remember these and click “Create”.
The installation performs two actions including “download” and “create”. You will be able to track this progress in Background Tasks.
After installation, the left main menu will have three containers:
gitlab1_gitlab_1
gitlab1_postgresql_1
gitlab1_redis_1These three containers provide a complete GitLab service. Click “gitlab1_gitlab_1” to enter the container page.
The container page displays port forwarding settings and hyperlinks if the application is a web-based service. You can click on the hyperlink to connect to your GitLab.
Enter the username and password (default: root / 5iveL! Fe) and log in to start using GitLab.
- CREATE CONTAINERS DOWNLOADED FROM THE DOCKER HUB REGISTRY
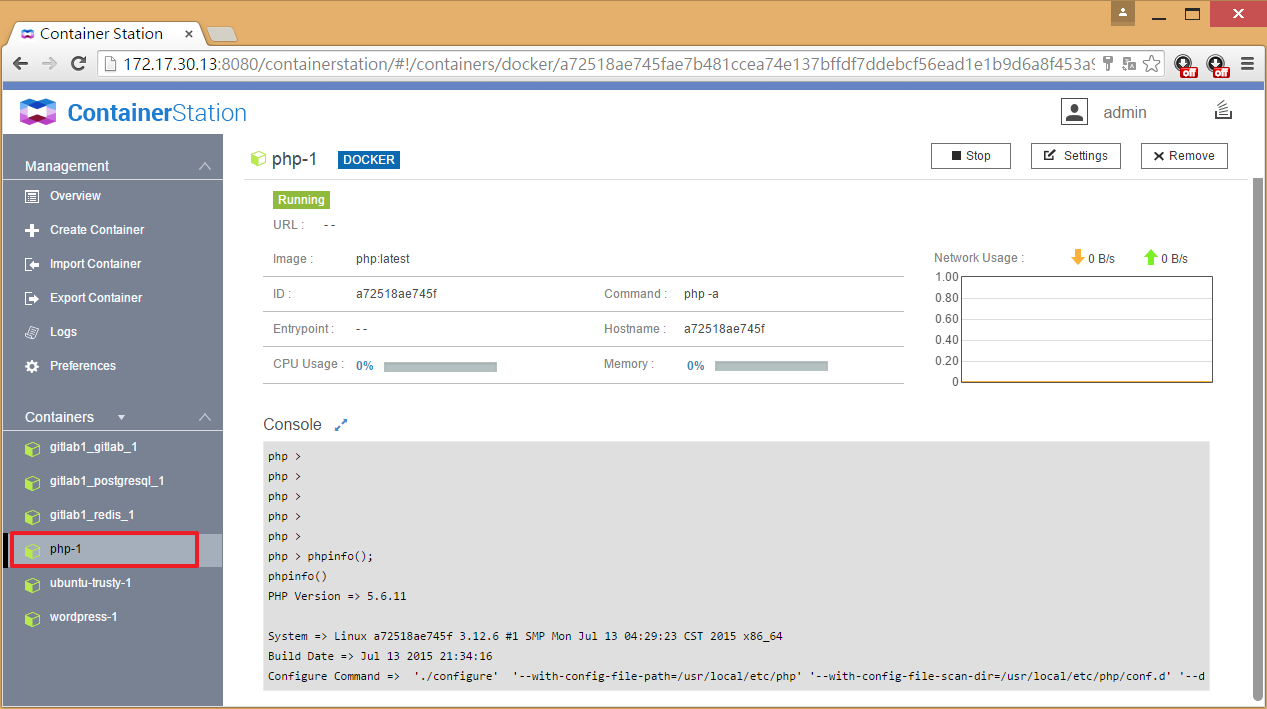
You can also use the search bar to find specific applications or Linux distributions. In the “Create Container” page you can search for an application name (such as “php”) from the Docker Hub Registry.Choose an application from the search results and click “Install”. The default version is the latest, and you can change this using the dropdown list.
The “Create Container” dialog will appear. Here you can modify information such as its Name and resource usage. Once finished, click “Create”:
The installation performs two actions including “download” and “create”. You will be able to track this progress in Background Tasks.
After installation, a container name will be added in the left main menu. Click on the container name (“php-1” in this example) to enter the container page.
- LOCAL IMAGES
Images will be stored on the NAS. You can view installed images and delete unnecessary ones from “Create Container” > “Local Images”.
*Note: An app package will be split into separate images.
ZGTLv151014